
 3D Wallpapers
 4K Wallpapers
 Video Wallpapers
 Wallpaper Images
 Slideshow Wallpapers
 Parallax Wallpapers
 Boomerang
 Colorful Wallpapers
 Blue Wallpapers
 Red Wallpapers
 Black Wallpapers
 White Wallpapers
People Live Wallpapers
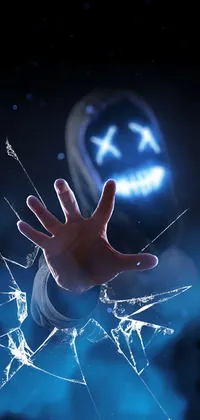
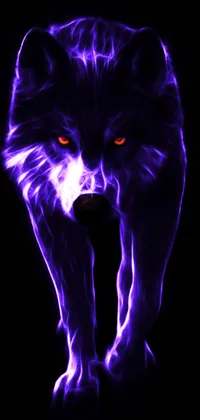
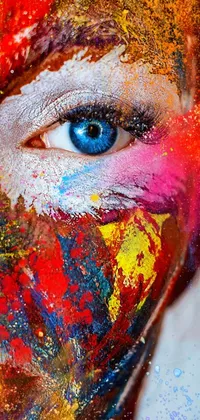
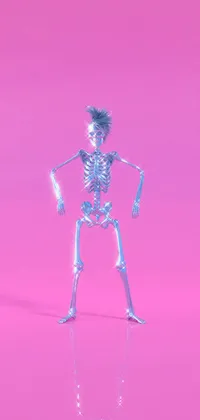
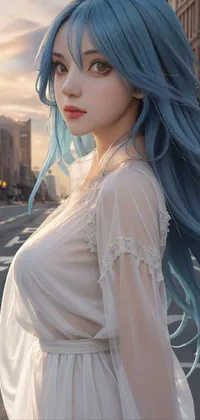
Browse our collection of people wallpapers and download them free on your phone. If you’ve ever edited a photo of yourself with a cartoon filter and liked how it looked, you may want to try our Wave Live Wallpapers app. You can create amazing 3D backgrounds in seconds. Upload that photo and wear it on your iPhone and Android screens to express the day's mood.


Best of People Live Wallpapers


Useful resources:
LiveWallpapers © 2024